
Conclusion
After a label feeder is installed on a mounter, two problems are common: one is empty feeding, where the mounter nozzle comes to pick but cannot get a label; the other is incomplete feeding, where the label position is off and the nozzle picks off-center. These two types of problems are mostly not equipment failure, but rather the three parameters of feeding position, feeding speed, and feeding delay not matching the mounter’s pick takt.
What Each of the Three Parameters Controls
Taking the BestFeeder label feeder LFSID-100 as an example, feeding speed is adjustable between 1–100, and the other two parameters are set according to label size:
- Feeding position: controls the feeding distance, adjusted by label size. If the label curls up or is fed too far, the feeding position is too large; if the label is not fed far enough, increase the feeding position;
- Feeding speed: on the premise that label stripping is completed, after increasing or decreasing speed, the feeding position must be fine-tuned accordingly. When patch speed is not the priority, the manual recommends setting 30–50 to keep feeding stable;
- Feeding delay: after feeding one label, wait a period before feeding the next, unit 0.1s. When the robot picks slowly and label feeding is fast, a delay can be set.
Feeding position and feeding speed are linked: change one, and the other must be fine-tuned accordingly. This is also why many people adjust and end up more off.
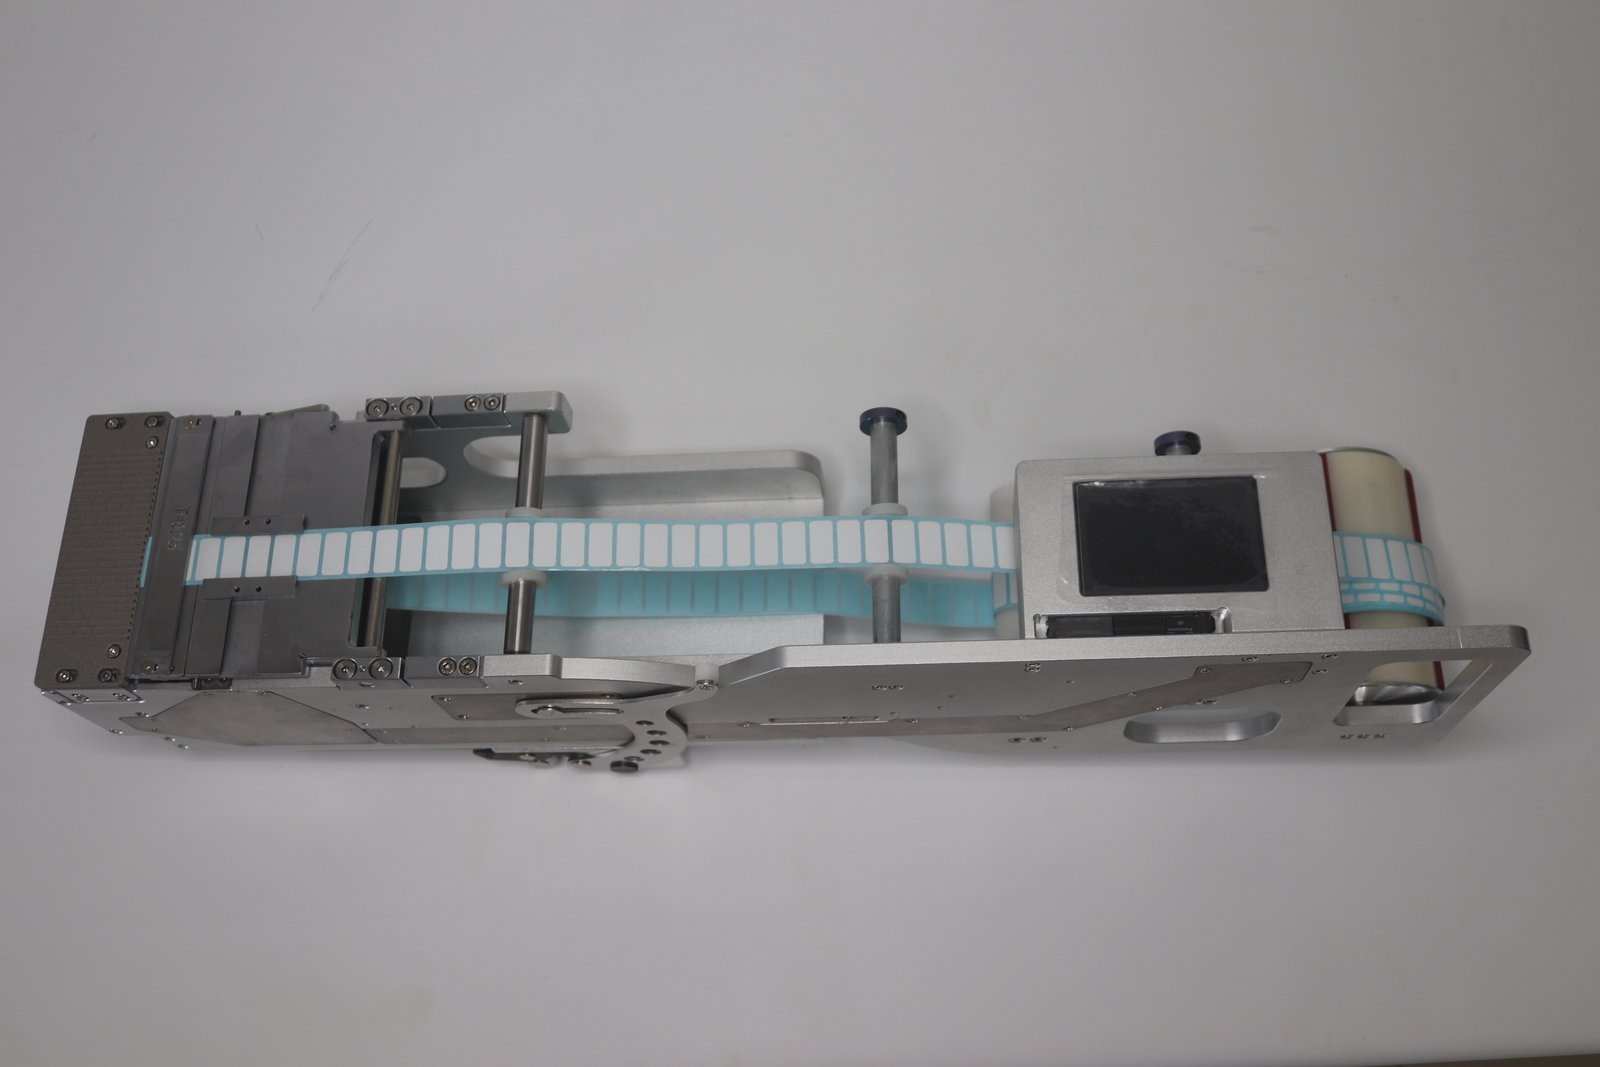
Who Controls Feeding: Two Online Modes
- Mounter controls feeding: set “Feeding Signal Select” to “Use” on the interface, and the mounter gives the feeder a 0V signal from the green wire, and only then does the feeder feed a label. In this mode, the feeding rhythm follows the mounter, suitable for mass production with fixed takt;
- Feeder auto-feeds: set “Feeding Signal Select” to “Not Use” on the interface, and the feeder automatically feeds when there is no label on the platform. Suitable for occasions where the mounter’s pick rhythm is not fixed, or the mounter does not provide a feeding signal.
When the mounter needs the feeder to give a label-present signal, set “Label Signal Select” to “Use”, and when the feeder has a label, it gives the mounter a 0V signal through the yellow wire.
Troubleshooting Order for Empty Feeding and Incomplete Feeding
- First check fiber detection. The fiber working set value should be 200 greater than the no-label state. When the set value is greater than the sensed value and the light is on, it is judged as having a label. If this value is not set well, the feeder will misjudge that there is a label and feed empty;
- Then check feeding position. If the label does not reach the pick position, increase it; if the label curls up, decrease it;
- Finally check feeding delay. If the mounter picks slowly and feeds fast, lack of delay will cause the label to be fed away early.
How to Calibrate the Fiber
The manual’s method is: adjust the working set value to 200 greater than the sensed value in the no-label state. When the fiber working set value is greater than the sensed value and the light is on, it is judged as detecting a label; when the set value is less than the sensed value, it is judged as no label. There are corresponding buttons for increasing and decreasing.
Different label light transmittance means the same set value is not necessarily universal. After changing material, it is recommended to recheck once.
Takt for Multi-Column Feeding
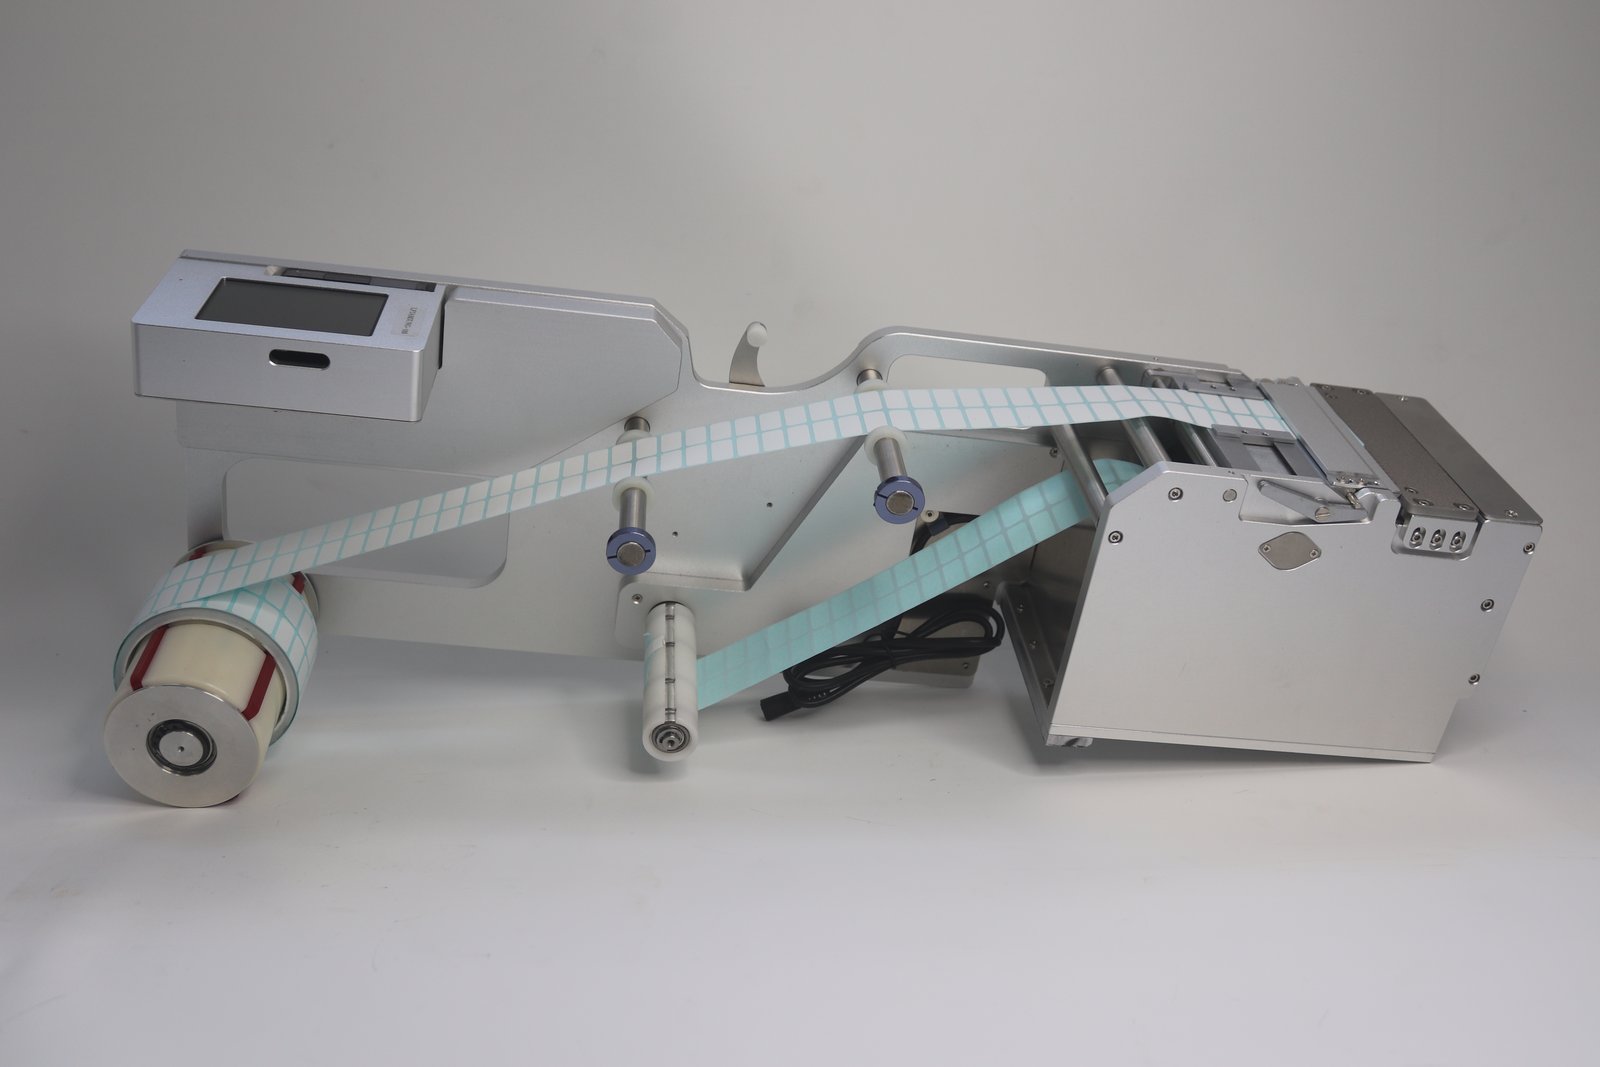
When picking from multiple columns in the same row, one feeding must simultaneously satisfy multiple pick positions. The number of columns is related to label width: the narrower the label, the more columns can be arranged. The stripping knife and fiber detection channels of multi-column models are configured by column, and the feeding step must be confirmed according to the actual material tray layout, otherwise some columns will be fed in place while others are off.
Check These Items First When Changing Lines
- Material wheel specifications and installation: retaining ring limit, guide width-limiting block, and pressing piece height adjusted to the new material;
- Fiber set value: recheck after changing material;
- Three feeding parameters: position, speed, and delay reset according to label size;
- Online signals: confirm the feeding signal and label signal settings have not been overwritten by the previous batch’s parameters.
Include These Items When Reporting Specifications
Label width and length, quantity per board and number of columns, mounter model and machine series, current feeder working mode, whether the mounter signal is needed to control feeding.
Further reading: Label Feeder, How to Choose Between Push and Retract Stripping.