
Conclusion
The classic series (LFS series) comes in three tiers: LFS-60 covers 5–58 mm, LFS-100 covers 5–98 mm, and LFS-150 covers 5–148 mm. All three tiers handle label lengths of L2–40 mm and 1–12 columns. These models mount on custom labeling machines, non-standard fixtures, and standalone peel stations; they do not go into pick-and-place feeder slots.
Tier selection depends on just one number: the bare label width. If the width exceeds the upper limit of the chosen tier, switch models rather than trying to solve it by adjusting parameters.
How Wide Each Tier Covers
The boundaries between tiers are 58, 98, and 148 mm. Labels up to 58 mm use the LFS-60; beyond that goes to the LFS-100; from 98 up to 148 mm uses the LFS-150. All three tiers share the same length range, L2–40 mm, so switching tiers is mainly about width.
One feeder can run all material sizes within its tier, supporting both single-row and multi-column, with up to 12 columns. How many labels go on a board and how often material is changed each shift determines whether multi-column is needed: if single-column is enough, don’t add columns—adding columns increases both body size and setup items.
Width is measured on the label itself, excluding the margins on both sides of the backing paper. For rounded labels and irregular outlines, report by the bounding rectangle. Length is likewise the actual label length, not the carrier tape pitch.
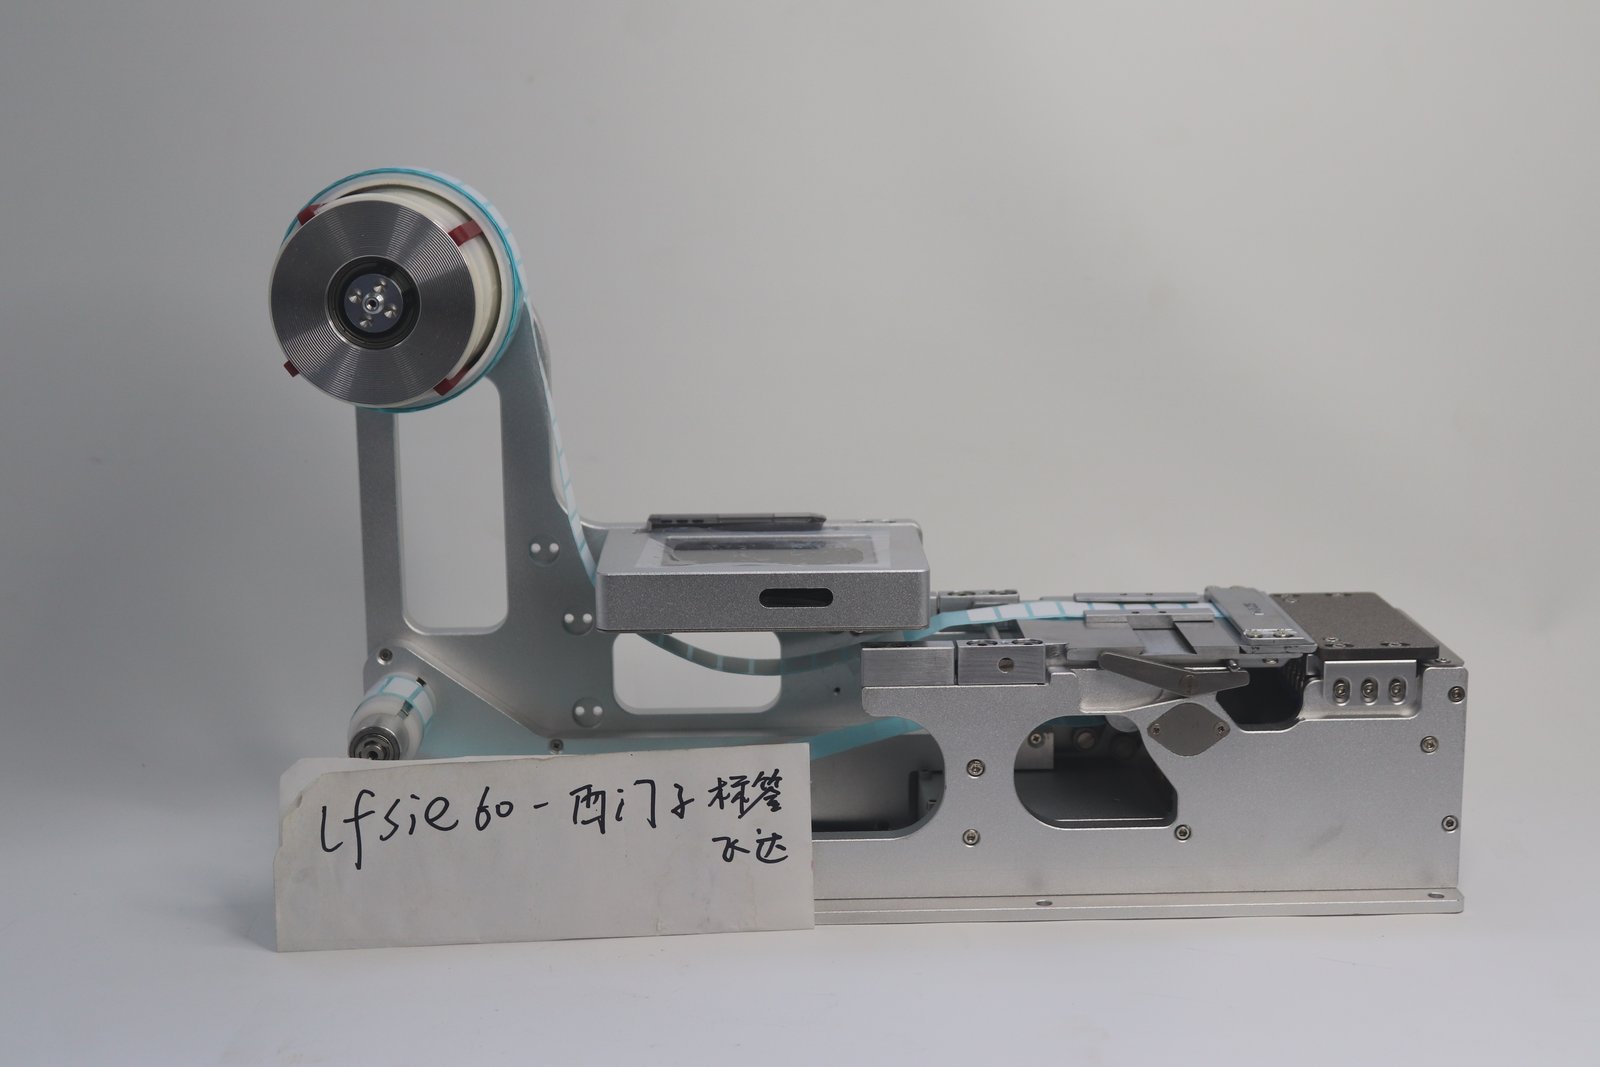
Mounting Position: Body Width Follows the Label Tier
The body length and height stay the same across the three tiers; only the width grows with the label tier, and weight increases accordingly. When planning mounting positions, allow space by the actual body width, not the label width—the body is considerably wider than the label.
Most of these models mount on fixture tables or standalone stations. Leave hand space at the front for threading and observation, and leave room above for the roll’s outer diameter so the operator can reach it when changing rolls. Check the table and fixture load capacity against the nameplate weight of the whole machine, not the empty-material state.
Threading Structure Differs from Pick-and-Place Dedicated Models
The classic model threads via the outlet table slider and the material clamping lever: pull the outlet table slider outward to leave a threading gap; the roll is clamped between the driven shaft and the drive shaft, and the clamping lever tightens inward. The top-screen model uses a pressure cover: press the lever down to open, clamp the roll between the pressure cover and the drive shaft, then press down to tighten. The two structures operate differently—don’t mix them up when training operators on roll changes.
Adjust the guide block position according to roll width: loosen the screws on the face with a hex wrench, move the width-limiting slider to the proper position, then tighten. Adjust the pressure plate height according to label thickness by loosening or tightening the four set screws. Mount the roll onto the mounting sleeve and use a retaining ring to limit it, preventing side-to-side sway during feeding.
Two details. The tape angle must be straight; running at an angle causes deviation at the peel blade edge. For small labels that are hard to peel, flip the peel blade to the side with the smaller angle. For large labels or labels that come off easily, you can skip the spring winding shaft to avoid premature peeling at a steep angle.
Which Parameters to Adjust
There are five adjustable items on the display, and the adjustment order has dependencies:
Set the fiber optic working value to about “reading in no-material state + 200”; the light comes on when material is present, and it reports no-material when below the sensing value. Then adjust the feed position, which controls the feed distance: if labels curl up or overshoot, it’s too large; if they don’t reach, increase it. Then adjust the feed speed; the classic manual gives a range of 5–50—set it lower when not chasing placement speed for more stable feeding. After changing speed, fine-tune the feed position once more. The feed delay unit is 0.1 s; add delay when the downstream manipulator picks slowly while labels feed fast. The no-material alarm also has an idle-run distance: how far to run empty after the roll runs out of labels before reporting no-material, set according to the on-site cycle.
Forward/reverse rotation of the unwind shaft is an option; models equipped with it can change direction in the menu.
When to Use It vs. Platform-Dedicated Models
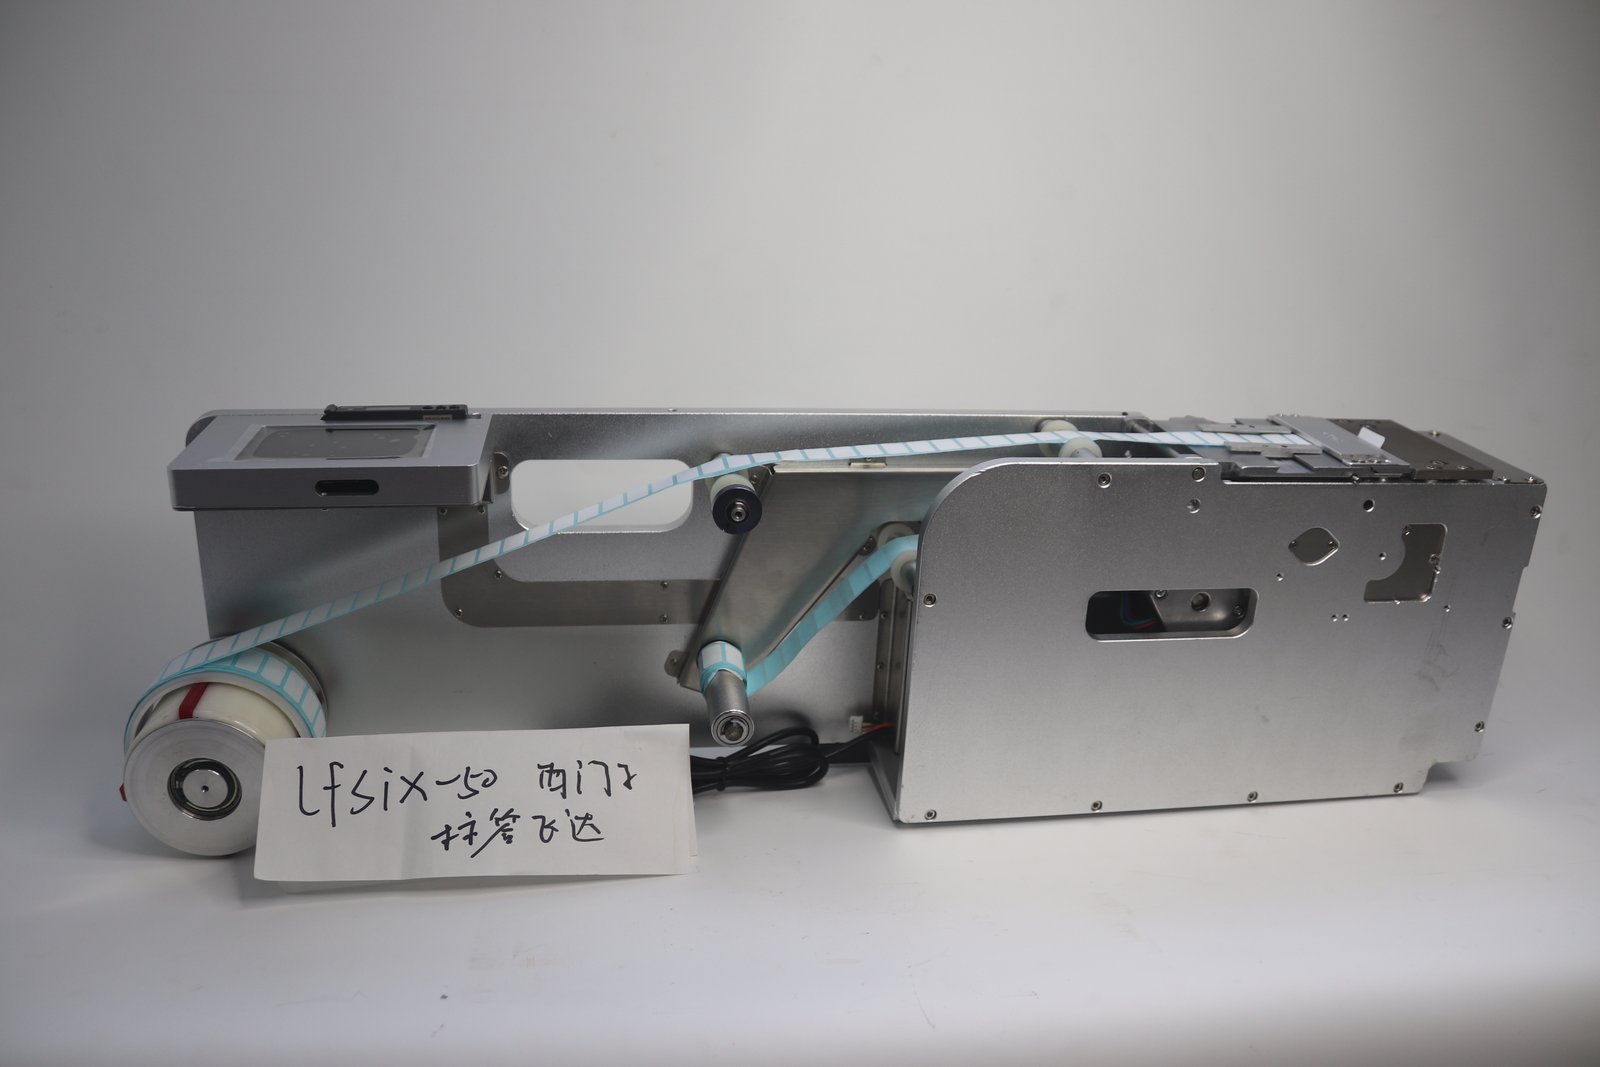
Pick-and-place feeder slots take platform-dedicated models, split by machine brand: Siemens D platforms use the LFSID series, X platforms use the LFSIX series, and Fuji, JUKI, Panasonic, Yamaha, and Samsung each have corresponding models. For custom labeling machines, non-standard peel stations, and standalone desktop setups, the classic model is more suitable—simple structure and flexible mounting. For screen-up, adjust-while-watching use, choose the top-screen model.
How to classify by peeling method and which structure suits which labels is covered separately in How to Choose a Label Feeder Structure; for specific models and tier comparisons, see Label Feeder Product Line.
Four Numbers to Report to the Factory
Bare label width and length (by bounding rectangle), whether multi-column is needed, what equipment it mounts on (pick-and-place model, fixture, or standalone station), and roll inner/outer diameter plus labels per roll. With all four numbers, the tier can be determined in one round. The remaining threading path and parameters are adjusted to the customer’s samples before shipment; on arrival, just connect power and run, and fine-tune per the manual if the direction is off.