
Conclusion
The difference between sheet feeders and tape feeders lies not in the feeding mechanism, but in the fact that every sheet must complete a full action chain: sheet-change signal comes in, the leading edge is delivered to the platform, the top film is peeled off, the nozzle picks the sheet, the platform clamps it, two-stage feeding runs, and the feed OK signal is output. If any timing in the chain does not match, the symptom is either failure to pick or two sheets at once.
The parameter names and value conventions cited below are taken from the BestFeeder sheet feeder accompanying manual. The sheet line has three models, PLF-100, PLF-200 and PLF-300; peeling width and magazine depth differ by model, while the touchscreen parameter items and logic are the same set. Specific values are subject to the accompanying manual and factory setting sheet.
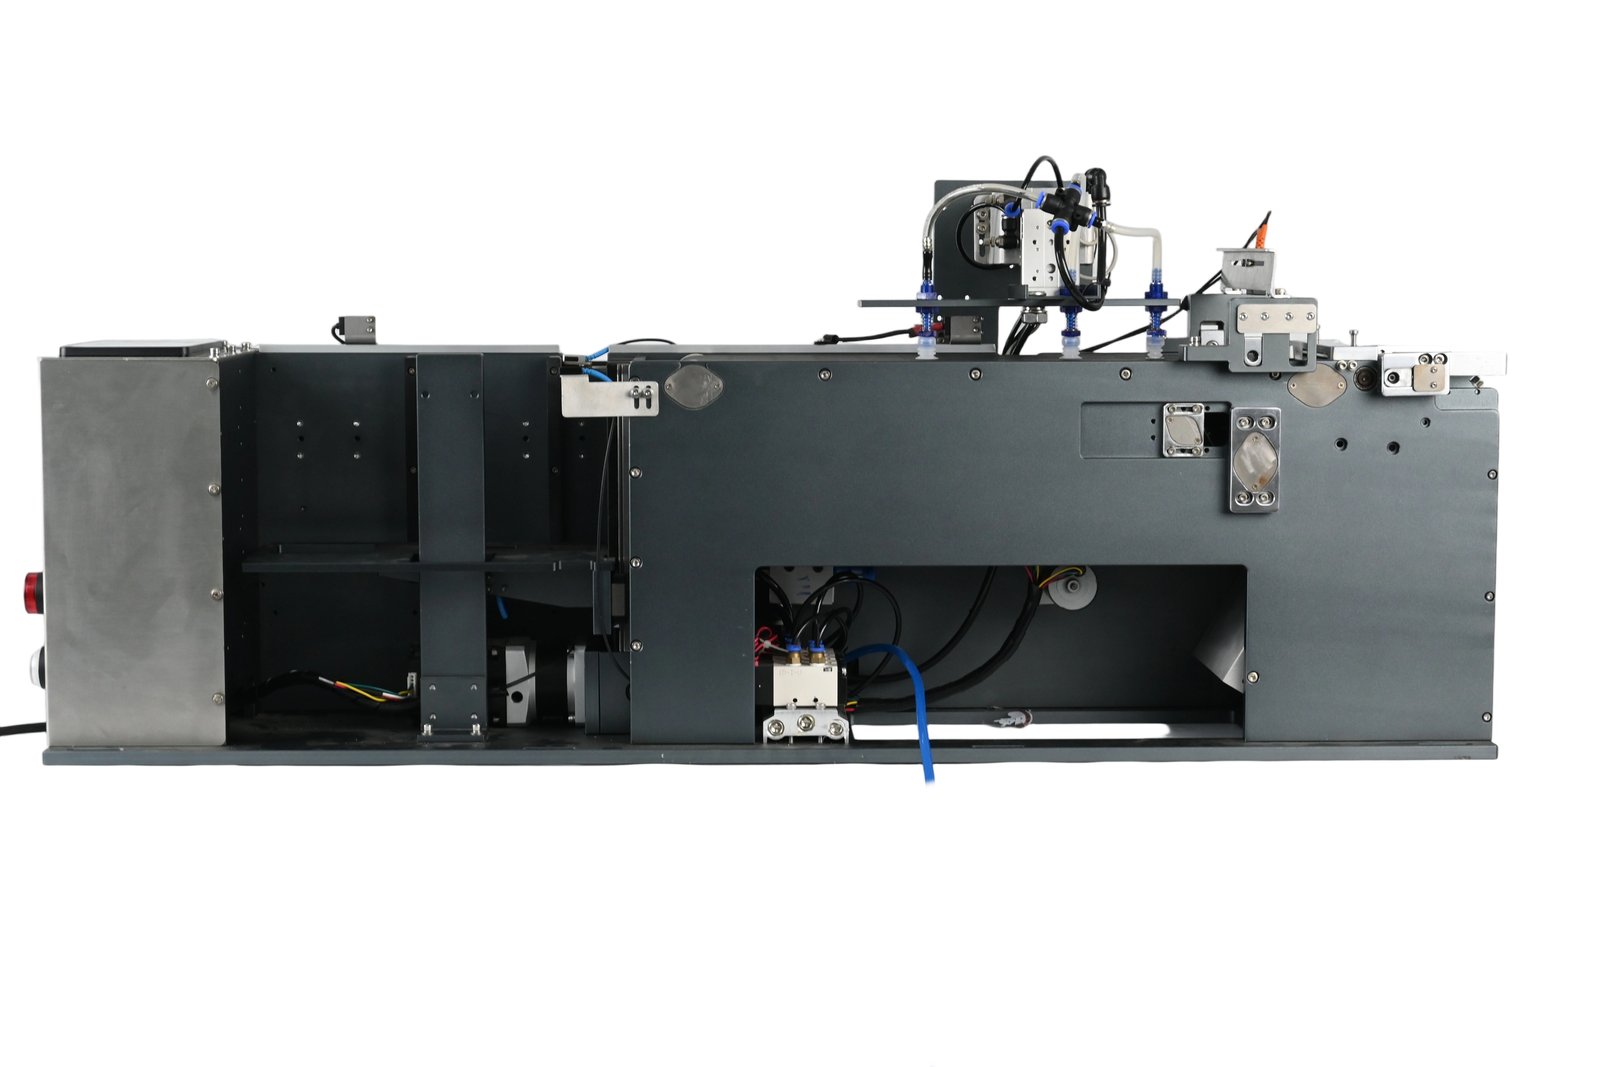
Figure: Sheet feeder body (in-house photo)
1. First find which segment of the action chain is broken
- Homing start: each motor returns to origin. Execute once on first power-up; after power-off and restart, homing first is also recommended, otherwise the zero points of the lift table and feeding mechanism are not established.
- Auto / Manual / Pause: Auto is the production flow; Manual is used for loading and testing cylinder actions; Pause only interrupts the next action without exiting the flow.
- Production count and UPH: feeding one row marks 1; long-press to clear; UPH is the count per hour, used to judge whether the speed is set too conservatively.
Which segment of the action chain is broken can be seen by jogging through each segment in manual mode: if it can suck but not feed, the problem is in the feeding segment; if it can feed but not suck, the problem is in the suction and peeling segment.
2. Peeling: for sheets without film, switch the button first
Some incoming sheets carry a top film, some do not. The “unpeeled” status button on the screen can be selected manually: if the sheet has no film, set it to peeled, and the next action will no longer execute peeling. The “peel” switch on the switch screen determines whether the peeling function is enabled.
Peeling is controlled by four groups of time parameters: top-film suction cylinder descent time, top-film suction vacuum OK delay, film suction jitter time and jitter count, and film ejection blow time and post-ejection suction time. If the film cannot be sucked, first check whether the vacuum OK delay is sufficient; for sheets with tightly adhered film edges, too few jitter counts leave the film incompletely peeled, and the leftover film edge will enter the platform along with the sheet.
3. Suction and release: three delays determine whether picking succeeds
The sheet suction segment has four parameters: sheet suction descent time, sheet suction vacuum OK delay, sheet suction jitter time and count, and sheet release time.
What is commonly adjusted on site is the vacuum OK delay. Too short, and suction is judged as established before vacuum builds, so the sheet drops when lifted; too long, and the cycle is slowed, and the platform waits for the sheet. The sheet release time determines how long the cylinder stays before releasing air; if insufficient, the sheet is released while still in the descent stroke, and the placement will be offset.
The sheet suction vacuum detection and top-film suction vacuum detection on the switch screen are for alarms and are kept on during normal production. Temporarily turning them off during troubleshooting can distinguish between vacuum not established and false detection; turn them back on after locating the issue.
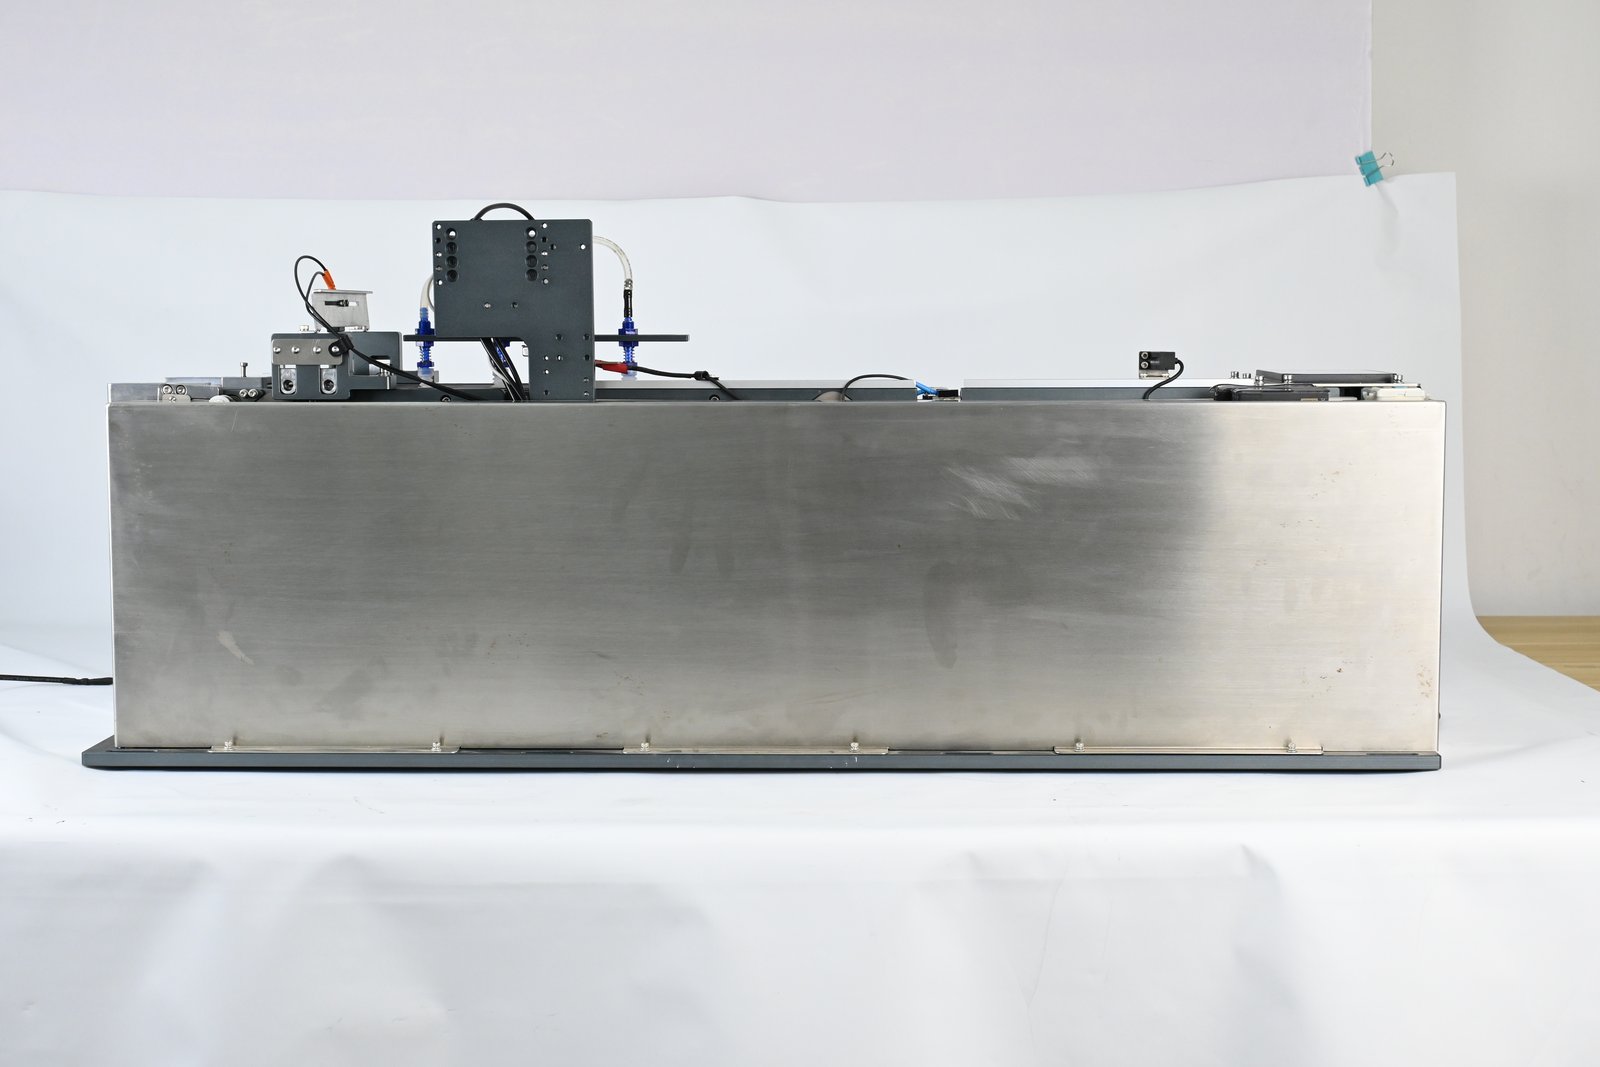
Figure: Another side structure of the sheet feeder (in-house photo)
4. Feed length is split into two stages, and timeout alarms are set separately
| Parameter | Corresponding position |
|---|---|
| Leading-edge feed length | Distance for the sheet leading edge from the sheet-change sensor to the platform cylinder clamping |
| First-stage feed length | Distance the sheet travels to the fiber optic position |
| Second-stage feed length | Distance the sheet travels after being sensed by the fiber optic |
Acceleration and deceleration can also be set separately. The first stage pulls the sheet from standstill to target speed; the second stage is short-distance fine positioning; if the second-stage acceleration/deceleration is set too high, the sheet easily overshoots the fiber optic position, appearing as over-feeding.
Timeout alarms are likewise two separate items: the leading-edge feed timeout alarm delay corresponds to the sheet-change signal not being detected within that time; the first-stage feed timeout alarm delay corresponds to the platform having clamped the sheet but the sheet-present fiber optic not sensing the sheet within that time. Whichever alarm points to is the segment that is broken.
Three other delays relate to signals: feed detection sheet-present delay, meaning the OK signal is output only after this delay following feed completion; feed detection sheet-absent delay, meaning the next row is fed after this delay when no sheet is present; feed OK break delay, meaning the OK signal is broken only after this delay when no sheet is present. If these three values are too large, the placement machine feels the feeder responds slowly; if too small, signal jitter makes the machine repeatedly request sheets.
5. Lift table: home first, then discuss step length
The lift table raises the sheets in the magazine level by level. Parameters are in four groups: manual speed, auto speed, initial rise speed and initial rise step, and rise step and cyclic rise count. The rise after homing uses the initial speed and initial step, then follows the rise step. If the initial step is set too small, the first sheet cannot reach the suction position; if too large, the nozzle presses onto the sheet.
There are two detection delays: sheet-absent detection delay and sheet-present detection delay, plus the sheet-change signal sheet-absent delay. If the delay is too short, the next step executes while the signal is still jumping during lifting, causing empty picks; if too long, the sheet-shortage reminder lags and the machine runs idle.
The “pre-suction” on the switch screen and the “pre-suction feed count” in the parameters form a group: after the sheet-change signal breaks, sheet suction can be performed in advance; pre-suction is triggered when the first-stage feed continuously fails to sense a sheet for a certain number of times. On high-mix low-volume lines, these two items reduce idle waiting for sheets.
6. Six-pin wiring and external feeding
| Pin | Definition |
|---|---|
| Pin 1 | 24 V |
| Pin 2 | 0 V |
| Pin 3 | Feed OK signal, 0 V output, output after the platform peels one row of labels |
| Pin 4 | Labeler sheet-request signal, 0 V input, peels one row of labels upon receiving the signal |
| Pin 5 | Auto signal, 0 V output, feeder auto mode enabled |
| Pin 6 | Sheet-shortage reminder, 0 V output, reminds to replace sheets when the magazine runs out |
When “external feeding” on the switch screen is turned on, each label feed executes only after receiving the external feed signal; when off, the feeder feeds continuously according to its own flow.
7. Five maintenance and inspection items
- Whether the nozzle opening is deformed by impact and whether there is debris blocking inside;
- Whether there is dust or debris on the sheet-pressing roller shaft; clean with a cotton swab or cloth if necessary;
- Whether there are leftover components or other debris on the platform and fiber optic;
- Whether the reel is loose and whether each cylinder operates normally;
- Whether there are foreign objects on the machine and lift table.
Nozzle opening deformation is easily overlooked: it does not affect suction, but it offsets sheet placement slightly, which ultimately shows up at the labeling position and gets investigated as an accuracy issue. The models and structure of the sheet line are described on the sheet label feeder product page.
8. Bring these three items when reporting to us
Model (PLF-100 / 200 / 300), symptom (empty pick, double sheet, insufficient feed, alarm code), and screenshots of the current values on the three parameter screens. With these three, most issues can be traced to the specific delay without disassembling the machine.