
Conclusion
After long holidays, seasonal changes, or order gaps, when a label feeder is put back on the machine, the problems usually aren’t the motor or the screen—they’re four things: whether the power is connected correctly, whether the tape path has been restored, whether the fiber sensor setting still matches the current batch of material, and whether the three parameter groups on the touchscreen are still the original set. Going through these eight items in order takes half an hour on site and saves the trouble of going straight to production and then tracing causes after offset occurs.
The values cited below are taken from the BestFeeder random manual. The on-screen model LFSID-100 (label width 2–98 mm, number of columns 1–14) and the dedicated model LFJUKI-32 share the same material path and parameter adjustment logic; specific settings vary by model, subject to the random manual.
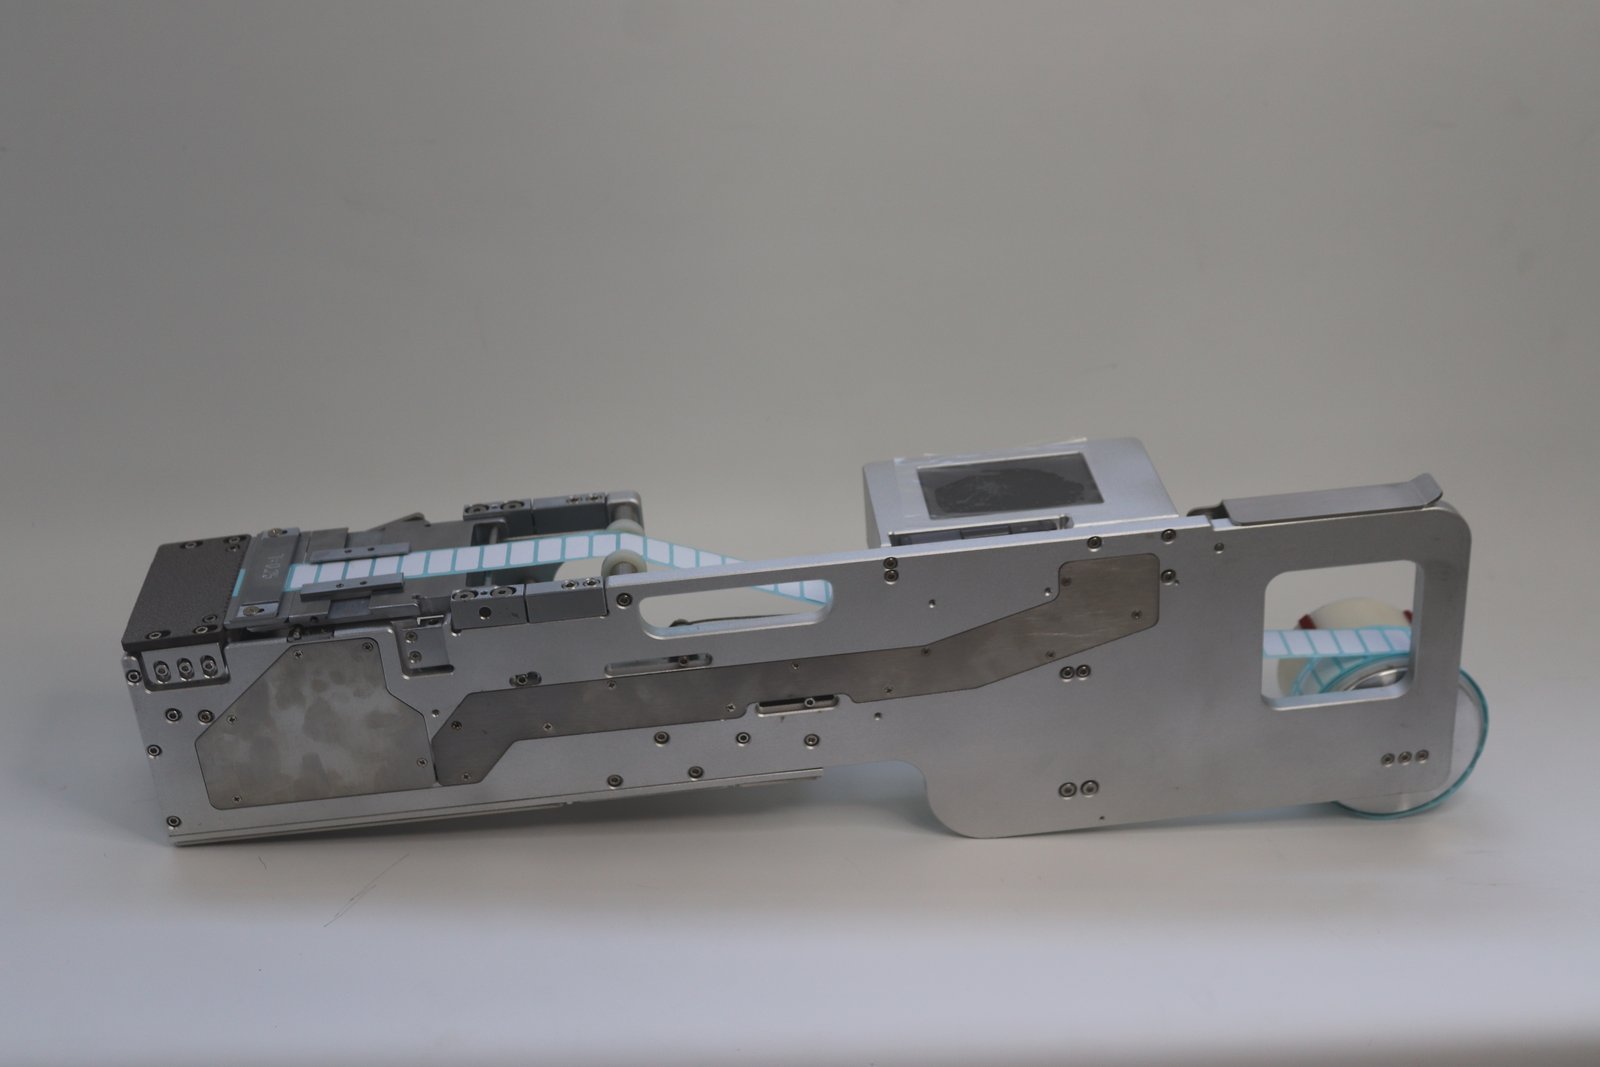
Figure: Feeder appearance (in-house photo)
1. Appearance: Check Three Types of Traces First
Before powering on, take the feeder out and look it over.
- Impact traces. If the peeling knife and receiving platform have been struck, positional accuracy and peeling stability will decrease. The manual puts this in the important notes: the peeling knife and receiving platform must not be subjected to impact or contamination.
- Dirt and residual adhesive. Residual adhesive and paper dust on the anti-stick material table, receiving platform, and guide blocks will cause labels to lift at the leading edge during dispensing. For machines that have gathered dust during idle time, wipe them down before threading material.
- Moisture and foreign objects. In improper storage environments, the housing, connectors, and wiring may corrode; cables bitten by insects or rodents should be identified before powering on, not left until an alarm occurs.
Wipe with a dry, soft cloth free of volatile substances. The manual does not include alcohol-based solvents in this specification.
2. Power Supply: 24 V, Current Greater Than 2 A
The manual specifies an operating voltage of 24 V, current greater than 2 A, and not sharing a power outlet with high-power equipment. It is common on site for the power supply to have been rerouted or the power strip occupied elsewhere during idle time. Before restarting, verify this item separately: is the voltage correct, is the current sufficient, and is it again sharing a power strip with heat-generating equipment.
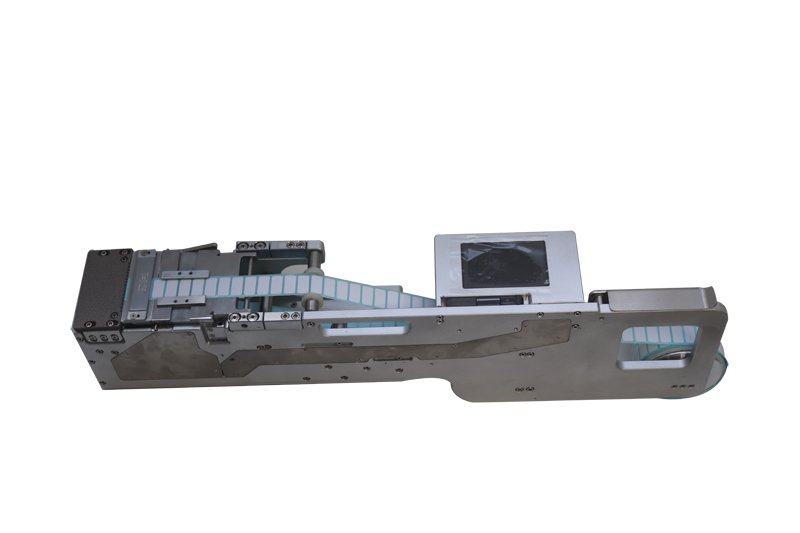
Figure: Feeder structure (in-house photo)
3. Whether the Tape Path Has Been Restored
During idle time, feeders are often borrowed elsewhere or disassembled for cleaning, leaving the tape path in a half-finished state. Check in order from start to finish:
- After mounting the material roll on the loading shaft, use the retaining ring to limit it and prevent the roll from swinging left and right.
- Set the position of the guide width-limiting slider according to the current roll width. Use a hex wrench to loosen the set screws inside, move to the appropriate position, then tighten.
- Adjust the pressing plate height according to label thickness by loosening the four set screws of the pressing plate. Too tight makes dispensing stiff; too loose causes thin labels to be carried away.
- Press the pressing cover lever down; the material roll is clamped between the pressing cover and the drive shaft. Press the pressing cover to clamp the labels.
- Route the empty roll onto the waste recovery shaft sleeve. Turn the recovery shaft by hand to check whether it is smooth and whether the backing paper is tangled.
Keep the tape angle and direction straight; this is listed first in the threading precautions. For large labels or easily peeled labels, the spring winding shaft may be bypassed to prevent premature peeling due to a large angle.
4. Fiber Sensor Setting Must Be Reconfirmed for the Current Material
After changing material, or after a long idle period with changes in ambient temperature and humidity, the fiber sensing value will change, and the old setting may no longer be suitable. The manual’s method is: set the fiber working setting value to 200 greater than the sensing value in the no-material state; at this point the material-present detection light turns on. If the working setting value is less than the sensing value, it is judged as no material.
When restarting, load the material first, check the sensing value in the no-material state, then adjust the working setting value to 200 above it. This is more reliable than copying the previously recorded number.
5. Three Parameter Groups on the Touchscreen, Check in Order
| Parameter | Function | Handling at restart |
|---|---|---|
| Feed position | Adjusts feed distance | Reset according to current label size; if labels lift upward or feed too much, the value is too large; if feed is insufficient, increase it |
| Feed speed | Feed speed after peeling is complete | When not pursuing placement speed, it can be set at 30–50 to maintain stable feeding; after changing speed, the feed position must be fine-tuned accordingly |
| Feed delay | How long after feeding one label before feeding the next, unit 0.1 s | Used when the robot picks material slowly and label feeding is fast |
The classic model manual gives a feed speed range of 5–50; the available settings on the on-screen model and dedicated model differ, subject to the random manual and the actual interface. Working modes are automatic and manual: automatic is for production, manual is for loading and material changes.
6. Reconnecting Signals to the Placement Machine
If the feeder is to be reconnected to line communication after restart, check three lines:
- Material-present signal (yellow wire): On the interface, “Material-present signal selection → Enable.” When the feeder has labels, it gives the placement machine a 0 V signal.
- Feed signal (green wire): On the interface, “Feed signal selection → Enable.” The feeder feeds labels only after the placement machine gives a 0 V signal.
- Neither used: The feeder automatically feeds when there is no label on the material table by default.
If the line changed the placement machine program or modified wiring during idle time, confirm this item with the electrical personnel on the other side before powering on.
7. Dry Run Before Loading Material
In manual mode, jog the feed several times and check three things: whether the tape runs straight, whether the distance fed each time is consistent, and whether waste recovery keeps up. The manual key can also advance or retract the material roll a small step for fine position adjustment. In automatic mode, pressing the same key adds to or subtracts from the feed position value; this function is suitable for adjusting position during a dry run.
The counter counts by row in the production quantity field; long-press to clear. Clear it before starting a new batch after restart to facilitate checking the actual output of this batch.
8. First Article Confirmation, Then Batch Production
After the first article board is placed, check whether the label position has unidirectional offset, whether the angle has rotated, and whether the backing paper has carried labels out. If the label position is incorrect, first determine whether it is a position parameter issue or a tape path alignment issue; reversing the order will cause back-and-forth changes.
Servo, mainboard, and communication settings are not within the scope of on-site maintenance. After internal parameters have been changed, the feeder’s behavior closely resembles a mechanical fault, and troubleshooting will take a long detour. For such cases, follow the manual’s remote guidance; if parts replacement is needed, return the unit for handling.
Restart Checklist
| Order | Check item | Criterion |
|---|---|---|
| 1 | Appearance | Peeling knife and receiving platform free of impact and contamination |
| 2 | Power supply | 24 V, current greater than 2 A, not sharing an outlet with high-power equipment |
| 3 | Tape path | Retaining ring limits position, guide blocks in place, pressing plate height appropriate |
| 4 | Fiber sensor | Working setting value 200 greater than no-material sensing value; light on indicates material present |
| 5 | Touchscreen | Feed position, speed, and delay reset for current material |
| 6 | Signals | Material-present and feed lines consistent with interface settings |
| 7 | Dry run | Runs straight, feed distance consistent, recovery smooth |
| 8 | First article | Position and angle normal, backing paper does not carry labels |
To check label width settings, number of columns, and body dimensions by model, see Label Feeder; sheet material and adhesive paper auxiliary materials use a different feeding structure, see Sheet Label Feeder.