
Conclusion
Top-display label feeders (LFSID-S series) are divided into five tiers by label width: 5–58, 5–98, 5–148, 5–198, 5–248 mm. The way to choose a tier is to measure the bare label width and match it upward to a tier, not to report an approximate figure. Each step up in width changes the body dimensions and weight accordingly: body width goes from 90 mm all the way to 380 mm, weight from 6.5 kg to 20 kg, and mounting space and load capacity need to be factored into the line layout as well.
1. What each of the five tiers covers
LFSID-60S covers 5–58 mm, LFSID-100S covers 5–98 mm, LFSID-150S covers 5–148 mm, LFSID-200S covers 5–198 mm, and LFSID-250S covers 5–248 mm. The label length range is the same across all five tiers: L2–40 mm.
One feeder can run all material sizes within its coverage range, supporting both single-row and multi-row. So once the tier is set, the same unit can handle several different label widths in small batches without needing a separate feeder for each label type. Conversely, if the label width exceeds the selected tier, the only option is to change tiers; it cannot be solved by adjustment.
When measuring width, measure the label itself, excluding the margins on both sides of the backing paper. For labels with rounded corners or irregular outlines, calculate the width by the bounding rectangle and report that to the factory.
2. How the body changes as width goes up
The first four tiers keep the same body length and height, 450 mm and 320 mm, with only the width increasing: 100S is 450×90×320 mm, 100S through 150S are 450×135×320 mm and 450×170×320 mm in turn, and 200S is 450×220×320 mm. At LFSID-250S, the body becomes 570×380×410 mm, enlarged in all three dimensions.
Weight rises more noticeably: 60S is 6.5 kg, 100S is 8 kg, 150S is 9.5 kg, 200S is 17 kg, and 250S is 20 kg. The 200S tier is 7.5 kg heavier than the tier before it; the load capacity of the frame or fixture must be checked against the full machine weight, not the weight when empty.
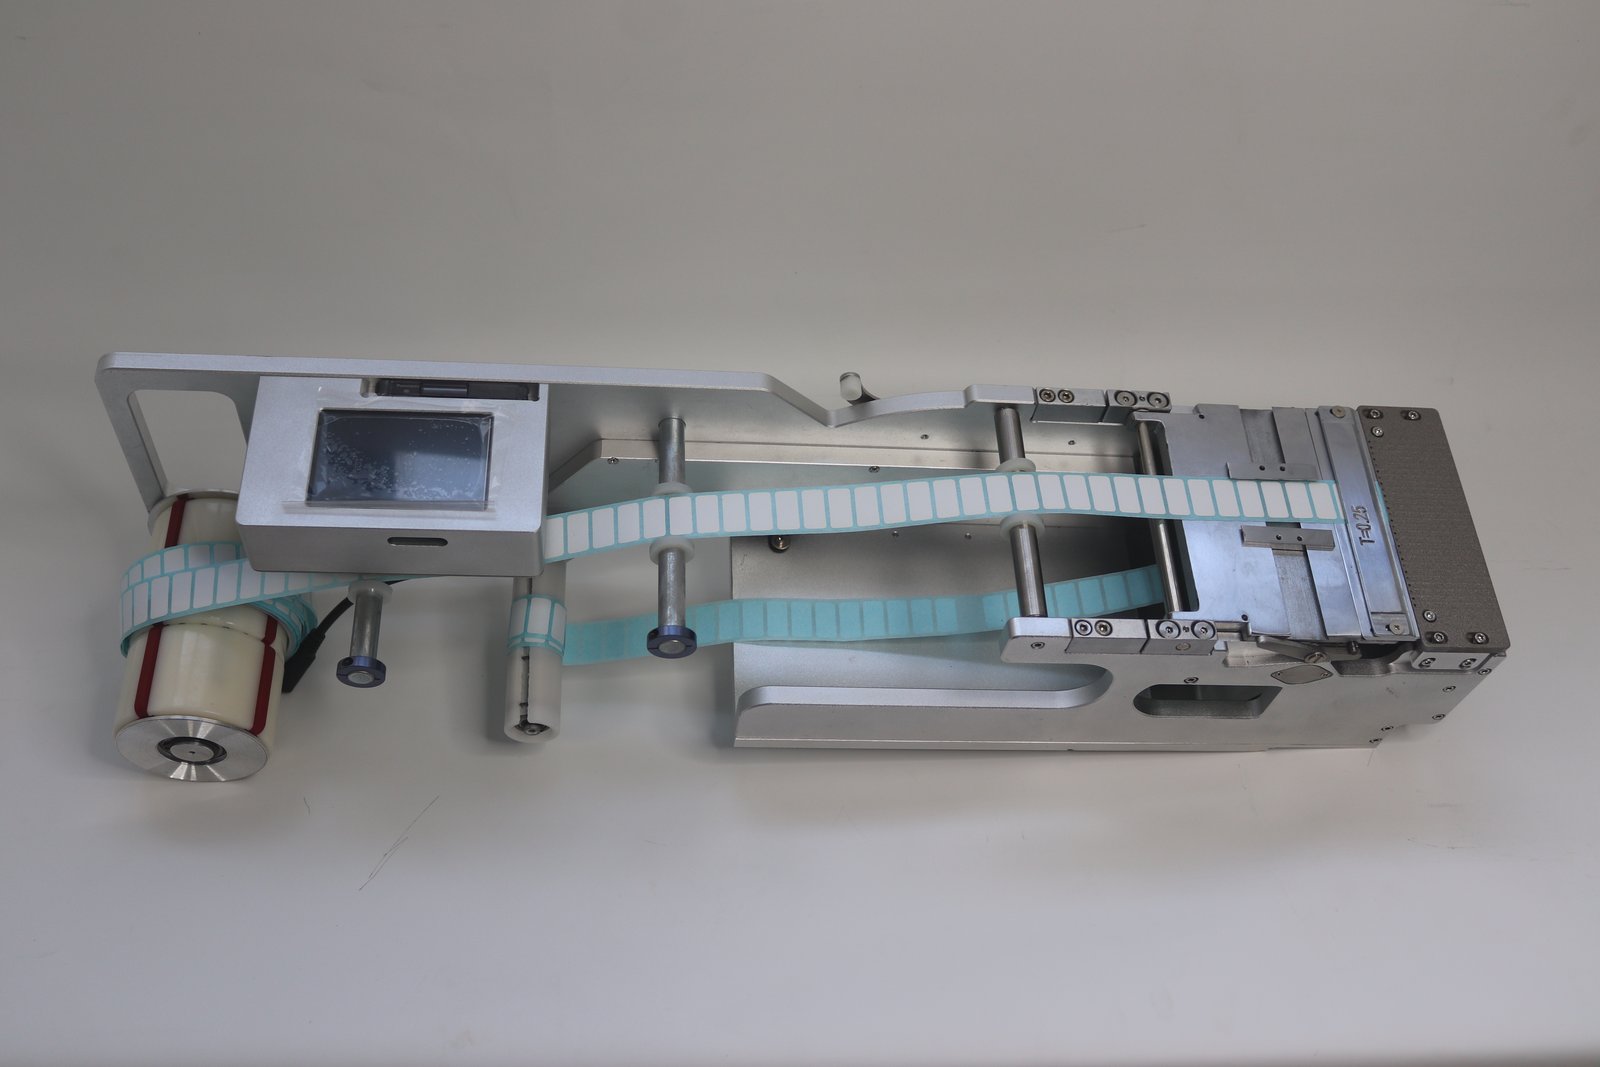
The space to reserve for mounting is not just the body dimensions. The label roll needs to be loaded, changed, and cleared of jams, so operating space must be left at the front and sides; wider tiers especially need clearance for lateral withdrawal.
3. Column count and detection channels widen in step
The maximum column counts for the five tiers are 6, 8, 12, 14, and 14 columns respectively, and the number of detection channels matches the column count. The point of multiple columns is to feed several labels arranged side by side on the same strip at once, reducing the number of material changes. The larger the tier, the more lanes can run side by side in the body, and the higher the maximum column count.
How to choose the column count depends on how many labels are placed per board and how often material is changed per shift. If a single column is sufficient, there is no need to add columns; adding columns increases body volume and commissioning items. The logic of matching column count with width is covered separately in Upgrading from Single Column to Multi-Column.
4. How the top-display structure is mounted
The top-display version has its screen mounted facing up, suited to non-standard automation equipment and custom placement machines; it is mounted by fixing it to a fixture or frame rather than inserting it into the feeder bank of a standard placement machine. With the screen facing up, clear space must be left in front of the body for operators to stand, view the screen, and press keys; this clearance is often taken up by frame uprights when laying out equipment, so measure it on the drawing first.
The feeding direction comes in left-feed and right-feed versions, both available in the same tier. Which side to choose depends on which side the label roll is near, where the material-change operator stands, and interference with adjacent equipment.
5. Three moving points in threading and commissioning
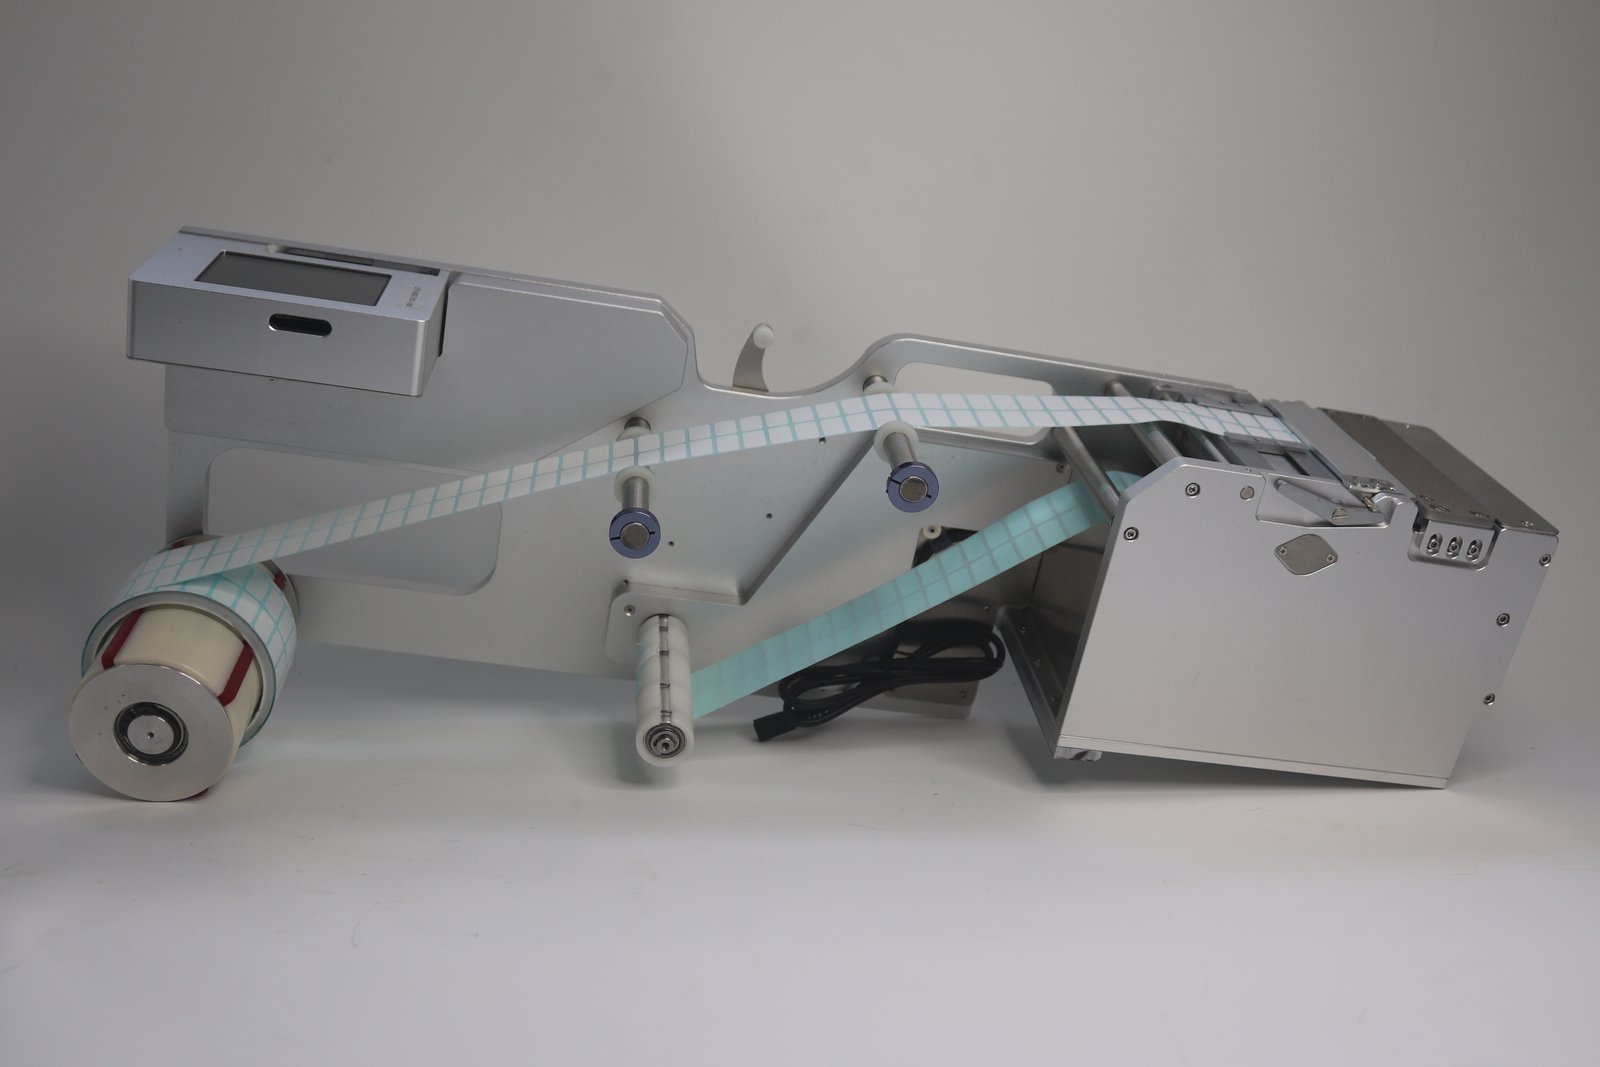
The label roll starts from the label mounting shaft, passes the winding shaft, and a retaining ring limits the roll to prevent side-to-side sway. On wide labels this step directly affects tracking deviation: if the retaining ring does not sit against the edge of the roll, the strip will drift to one side.
The guide width-limiting slider is loosened with a hex wrench on the inner set screws, and the guide block is moved to the proper position according to the roll width. The pressure plate can be loosened and tightened with four set screws to adjust height according to label thickness; whenever label thickness or backing paper thickness changes, it must be readjusted.
Power supply is 24V, current must be greater than 2 A, and do not share an outlet with high-power equipment. The peeling knife and the receiving platform must not be struck or contaminated; if these two parts are dirty or bumped, the direct symptoms are missed labels and offset.
6. Four numbers to report to the factory
Label width and length (measure the bare label, by bounding rectangle), the number of side-by-side columns, which equipment or fixture it will be mounted on, and the full machine load and front clearance. With all four numbers, the tier and column count can be settled in one round. Models and parameters for each tier can be found in the Label Feeder Model Table, and can also be checked against individual model pages.
Wide-label materials are common in appliance panels, traceability labels and nameplates for automotive electronics, and large barcode sheets on packaging lines. These labels have a large unit area and few labels per roll, so material changes are more frequent than with small labels; working backward from the material-change rhythm will give a more accurate trade-off between column count and tier.