
Conclusion
The parts of a label feeder that actually wear out are not the motor or the screen, but three locations: the blade and receiving platform for peeling and discharge, the width-limiting slider and pressing plate for guiding and pressing, and the fiber-optic head for detection. Going through these three places on a daily, weekly, and monthly basis lets most wear be spotted before it turns into jams and misalignment; by the time an alarm triggers, several labels have often already been scrapped in a row.
The following specifications come from the operation and maintenance sections of the BestFeeder random manual. The structure is consistent across models: the upper-screen model LFSID-100 (label width 2–98 mm, number of columns 1–14) and the dedicated models LFJUKI-32 and LFSUMSUNG-60 share the same threading path, fiber-optic set values, and adjustment logic for the three parameter groups of feed speed and delay; the differences lie in body dimensions and mounting interface.
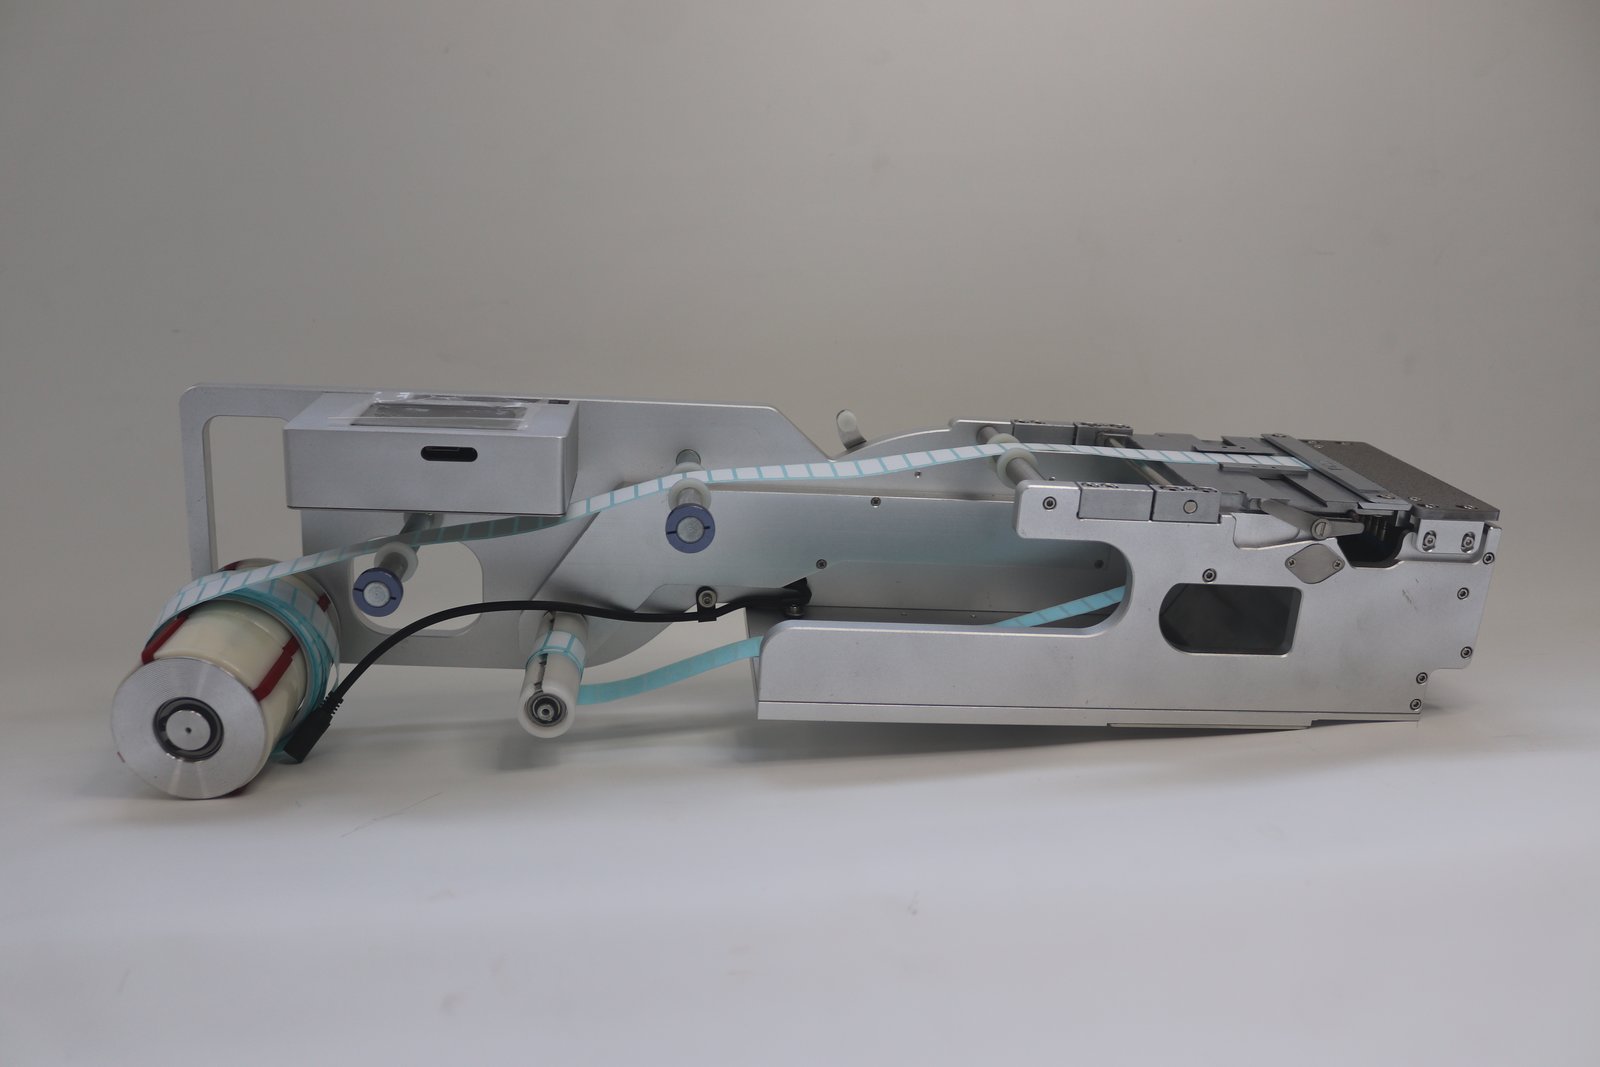
Figure: Feeder appearance (in-house photo)
Three Locations, Each Covering One Stage
| Location | Main parts | First symptoms |
|---|---|---|
| Peeling and discharge | Peeling blade, anti-stick platform, receiving platform | Incomplete peeling, backing paper discharging with labels |
| Guiding and pressing | Guide width-limiting slider, pressing plate, reel limiting collar | Tape swinging left and right, label stop position offset |
| Detection | Fiber-optic head and amplifier | No stop when material runs out, or false material-present report at empty positions |
The wear patterns of the three locations differ: the blade dulls slowly, the slider and collar loosen slowly, and the fiber-optic head gets dirty slowly. So the inspection rhythm should not be the same either.
Daily Check: Three Things in Three Minutes
A quick look before startup, no tools needed.
- Tape runs straight. From the reel to the discharge platform, check whether the tape runs at an angle. Angled tape is the source of all later misalignment problems; the manual lists it first in the threading precautions.
- Fiber-optic light. The light is on where there is a label, indicating detection is normal. When the working set value is lower than the sensing value, the feeder reports no material; this is a setting issue, not a broken part.
- Clean platform. Check the anti-stick platform and receiving platform for residual adhesive, paper scraps, and dust. When dirty, labels tend to lift at the head during discharge.
Weekly Check: Cycle the Adjustable Parts Once
Reset the two adjustable parts once a week according to the current material, to prevent “loosening by itself while running.”
Guide width-limiting slider. Use an Allen wrench to loosen the set screws inside, move the guide block to the appropriate position according to the reel width, then tighten. Changing to material of a different width without resetting the guide block is a common source of tape swinging left and right.
Pressing plate height. Loosen the four set screws of the pressing plate and adjust the height according to label thickness. Too tight makes label discharge stiff; too loose lets thin labels be carried away.
Also wipe the housing, touchscreen, and anti-stick platform with a dry, soft cloth. The manual requires a cloth free of volatile substances; alcohol-based solvents are not within this specification.
Monthly Check: Look at Wear, and at Fastening
- Peeling blade edge. With nicks or rolled edges, peeling becomes intermittent and the backing paper occasionally carries labels. For small labels that are hard to peel, you can skip replacement first and turn the blade to the side with a smaller angle for continued use; the manual gives this usage.
- Waste take-up shaft sleeve. Turn it by hand to check whether it is smooth and whether backing paper is tangled. A stiff take-up shaft pulls the tape backward, appearing like insufficient feeding.
- Impact marks. If the peeling blade and receiving platform have been struck, positional accuracy and peeling stability both decline. The manual explicitly requires avoiding impact and contamination at these two places; also prevent feeders from colliding with each other during daily handling.
- Cables and connectors. Check signal cables and power connectors for looseness and insulation damage.
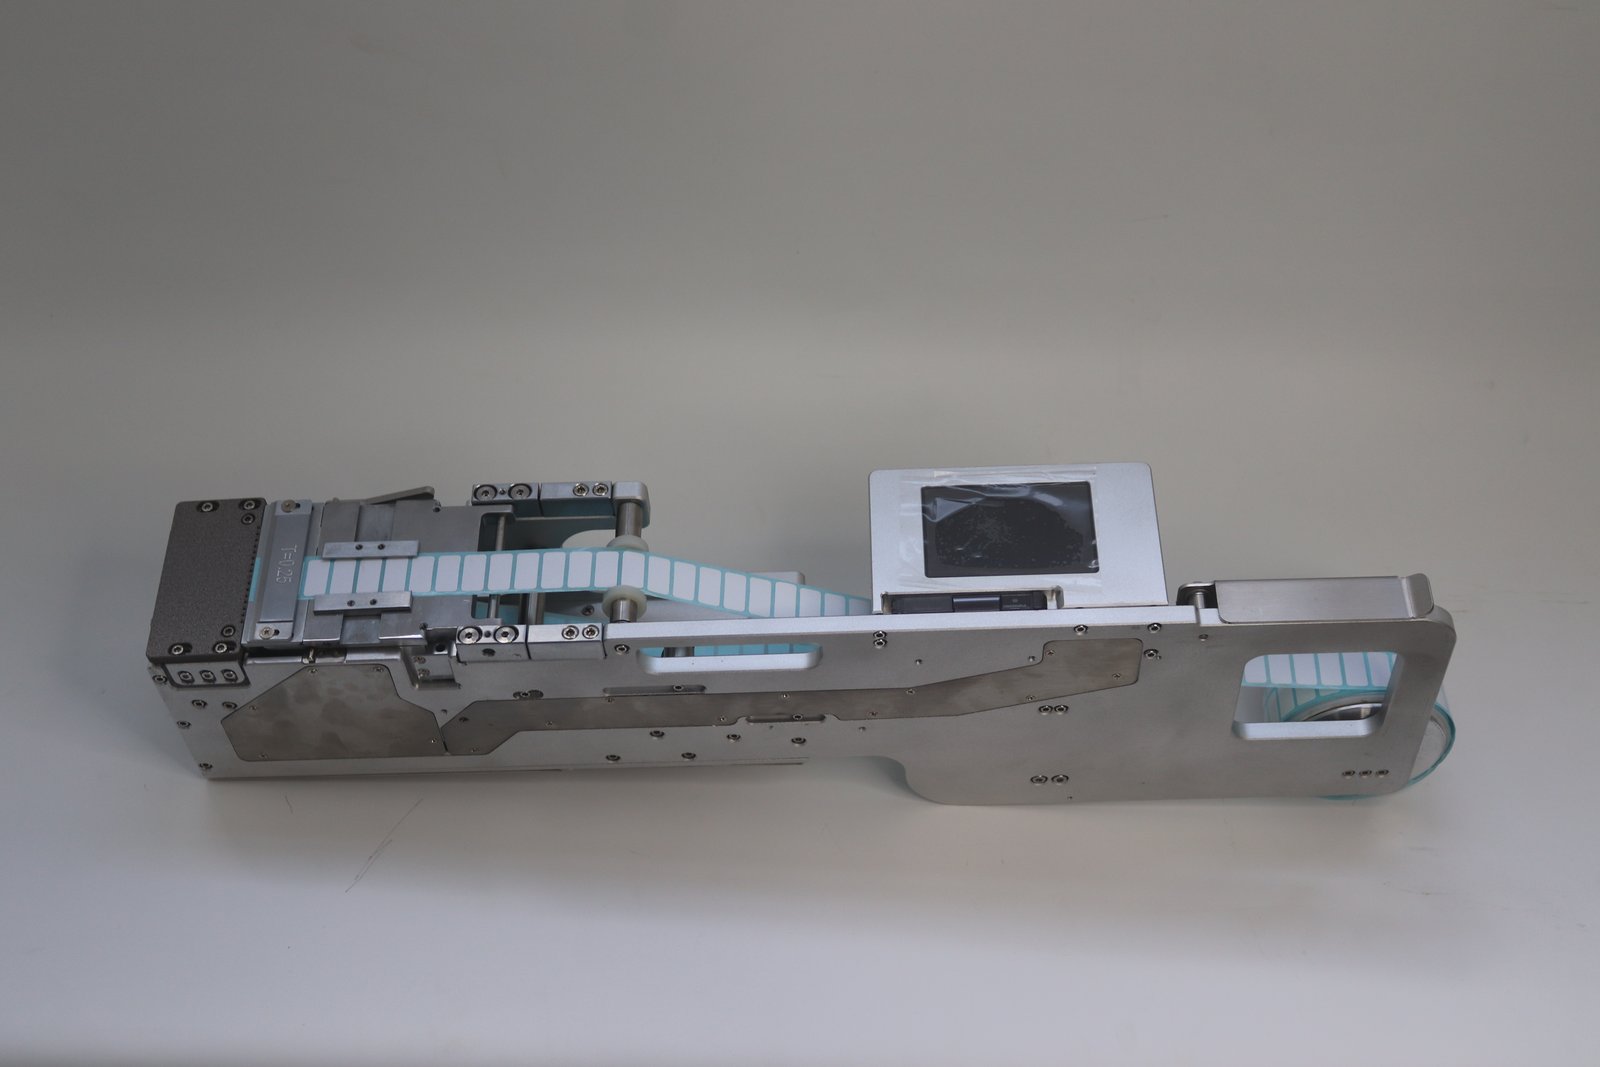
Figure: Feeder structure (in-house photo)
Symptom-to-Part: Matching Three Situations
| Symptom | Check first | Check next |
|---|---|---|
| Tape won’t move, motor idles | Whether adjustable parts on the threading path are in place | Whether the peeling blade is stuck on the backing paper |
| Label not fed to position or count off | Fiber-optic working set value | Feed position and feed delay |
| Incomplete peeling, backing paper carries labels | Blade edge and blade angle | Tape tension and pressing plate height |
Separate “parts” from “parameters” first: adjusting feed speed when an adjustable part is out of place only makes the problem appear in a different form.
A Few Usage Disciplines
These are not consumables, but they directly determine the life of wear parts; the manual states them one by one:
- Power supply 24 V, current must be greater than 2 A; do not share a power plug with high-power equipment.
- Do not expose the feeder directly to sunlight or other heat sources.
- Installation, repair, addition, or disassembly should be handled by an authorized institution or personnel.
- Do not collide forcefully; subtle damage caused by collisions between feeders or with other objects directly affects function and performance.
When Not to Handle It Yourself
Servo, mainboard, and communication settings are outside the scope of on-site maintenance. After internal parameters are changed, the feeder’s behavior closely resembles a mechanical fault, and troubleshooting takes a long detour. In such cases, follow the manual’s specification and use the original manufacturer’s remote guidance; parts requiring replacement should be returned for processing.
To check label width grades, number of columns, and body dimensions by model, see the label feeder page; sheet material and adhesive paper auxiliary materials use a different feeding structure, see sheet label feeder.